
Band Peg Storage for Garage Gyms
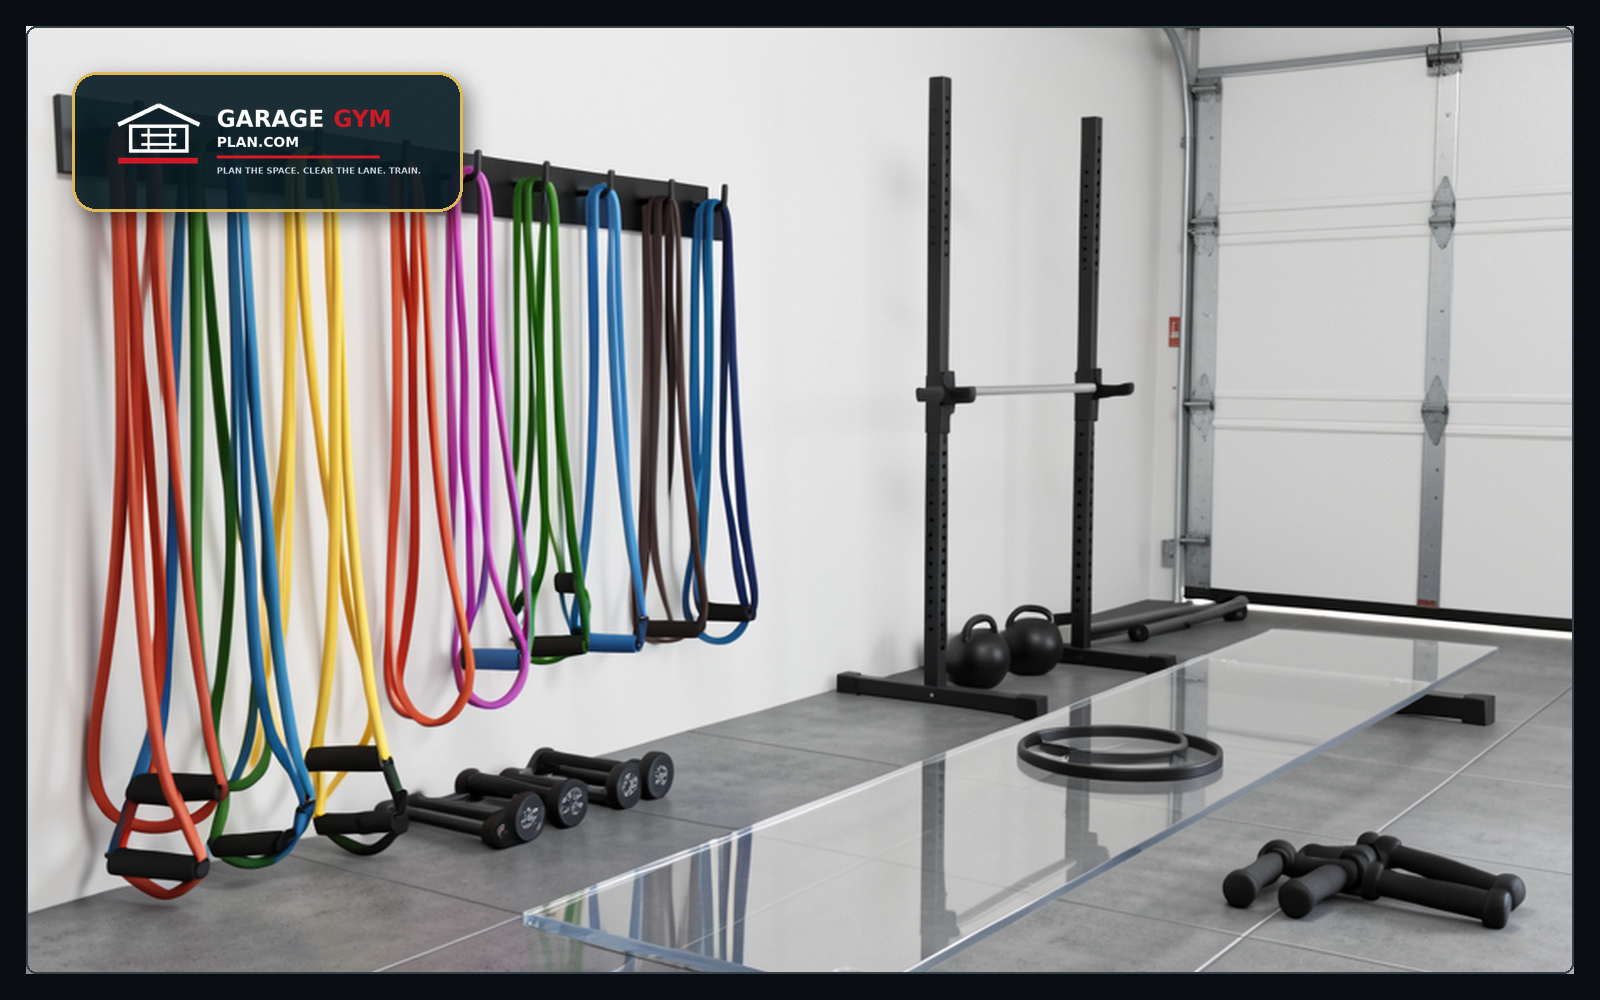
Band pegs work best when they keep bands close to the rack without turning the upright, wall, or floor into a tangle. Start with the movements you actually use, then choose peg height, spacing, and storage zone around that routine.
Bottom line
Use wall pegs or rack pegs when bands are used every week and need to be visible. Use a labeled bin or drawer when bands are occasional accessories. Do not store bands where they hang into the bench path, plate-loading lane, garage door track, or car door swing.
Decision table
| Band use | Best storage | Watch-out | Measure/check | Compare |
|---|---|---|---|---|
| Rack warmups and pull-aparts | Small wall pegs near the rack | Bands hanging into the J-cup or spotter-arm path | Peg height, band length, and hand reach from the rack | View options |
| Accommodating resistance | Rack-mounted pegs or a dedicated rack-side hook | Loose bands under the lifter’s feet | Floor path, anchor points, and band tension direction | View options |
| Mobility and rehab bands | Labeled light-band hook or shallow bin | Mixing light bands with heavy loop bands | Color/strength labels and quick return spot | Plan first |
| Shared family garage | Higher wall pegs or closed storage | Kids pulling bands across walking lanes | Access height and whether the band snaps back toward a person | Plan first |
Checks before you buy or rearrange
Keep pegs outside the loaded-bar sleeve path.
Separate heavy loop bands from mini bands and handles.
Leave enough wall depth so bands do not brush tires, shelves, or tools.
Replace cracked or sticky bands instead of hiding them in the bundle.
How to use this in a real garage
A clean band station should make warmups faster. If the bands are hard to untangle or always end up on the floor, the storage is too clever or too far from the use point.
Walk the route you use during a normal workout: enter the garage, reach the equipment, load the bar or station, train, unload, and reset. The right storage decision should shorten that sequence and leave the shared garage easier to use after training.
Garage Gym Reset Kit
Measure the garage, choose the storage path, and turn the plan into a printable checklist before buying more equipment.
See the Garage Gym Reset KitFit notes by setup
Rack warmups and pull-aparts
Small wall pegs near the rack is the main fit signal. The practical mistake is bands hanging into the j-cup or spotter-arm path. Before you buy or move anything, use this check: peg height, band length, and hand reach from the rack. If that check fails, change the location before changing the product.
Accommodating resistance
Rack-mounted pegs or a dedicated rack-side hook is the main fit signal. The practical mistake is loose bands under the lifter’s feet. Before you buy or move anything, use this check: floor path, anchor points, and band tension direction. If that check fails, change the location before changing the product.
Mobility and rehab bands
Labeled light-band hook or shallow bin is the main fit signal. The practical mistake is mixing light bands with heavy loop bands. Before you buy or move anything, use this check: color/strength labels and quick return spot. If that check fails, change the location before changing the product.
Shared family garage
Higher wall pegs or closed storage is the main fit signal. The practical mistake is kids pulling bands across walking lanes. Before you buy or move anything, use this check: access height and whether the band snaps back toward a person. If that check fails, change the location before changing the product.
Common mistakes to avoid
- Buying the holder, shelf, jack, or accessory because it looks organized in a photo instead of because it solves your exact lane problem.
- Measuring the product footprint but not the working path around it. Bars, benches, plates, doors, and people need room to move.
- Letting the new storage location create a trip point, toe-stub, car-door conflict, or hard-to-reset corner.
- Keeping too many rarely used items in the premium rack-side zone while the daily-use items sit across the garage.
Good fit vs. bad fit signals
A good setup feels boring after the first week. The item has one obvious home, you can reach it without moving unrelated gear, and the garage still works for parking, tools, bikes, trash cans, and family traffic. A bad setup usually announces itself through repeated small annoyances: a bar that must be tilted past shelves, a hook that catches clothing, a bin that lives on the floor, or a storage product that looks clean only when the garage is empty.
Keep the useful parts and remove the ceremony. If a solution requires multiple reminders, labels, or resets just to stay safe, simplify the zone. Move the item closer to its use point, reduce the number of products in that area, or accept that this garage needs a smaller footprint than the product photo suggests.
Quick test before you call it done
Run one normal workout using the new plan. Set a timer for the setup and reset, then note every item you had to move twice. The page-level goal is not perfect organization; it is a garage that trains cleanly, resets quickly, and does not feel stuffed with keyword-friendly but useless advice.
- Keep pegs outside the loaded-bar sleeve path.
- Separate heavy loop bands from mini bands and handles.
- Leave enough wall depth so bands do not brush tires, shelves, or tools.
- Replace cracked or sticky bands instead of hiding them in the bundle.
Keep, cut, or move
Use this as a decision filter: keep the item or setup if it makes the next workout easier to start, easier to reset, and safer for everyone who shares the garage. Cut it if it only adds another surface, slot, or bin without solving a repeated problem. Move it if the product is useful but sits in the wrong zone.
Most garage-gym clutter is not one bad purchase. It is a chain of almost-good decisions: a holder mounted a little too far from the rack, a shelf that is a little too deep, a bar that fits only when the car is gone, or an accessory bin that is convenient until it becomes the place every small part disappears. Fix the chain by choosing one clear home for the item and one clear lane that storage never crosses.
Before-and-after check
Before changing the setup, take one photo from the garage door and one from the house entry. After the change, take the same photos and ask three questions: is the training lane easier to see, are heavy items lower and more stable, and can a non-lifter understand where to walk? If the answer is no, the garage still needs a simpler plan.
Band storage and replacement checks
Use these numbers as planning checks, not as live product claims. Final purchases should be verified against the current listing and manufacturer instructions.
- Heat and sunlight: Bands degrade faster when stretched, dirty, hot, or exposed to sunlight. Store them relaxed, dry, and away from sharp hooks.
- Fit check: Peg depth should hold the bands without forcing them to stretch around the hook. If bands overlap too tightly, use separate pegs by tension or use bins.
- Planning price band: Simple peg/hook solutions may be inexpensive, while wall panels or commercial organizers cost more. Verify the hardware rating and wall material before mounting.