
Garage Gym Cardio Equipment Layout: Treadmill, Bike, Rower, and Open Floor
Cardio gear needs more than its footprint. Plan cord paths, fan direction, sweat cleanup, door swing, and whether the machine blocks open training floor.
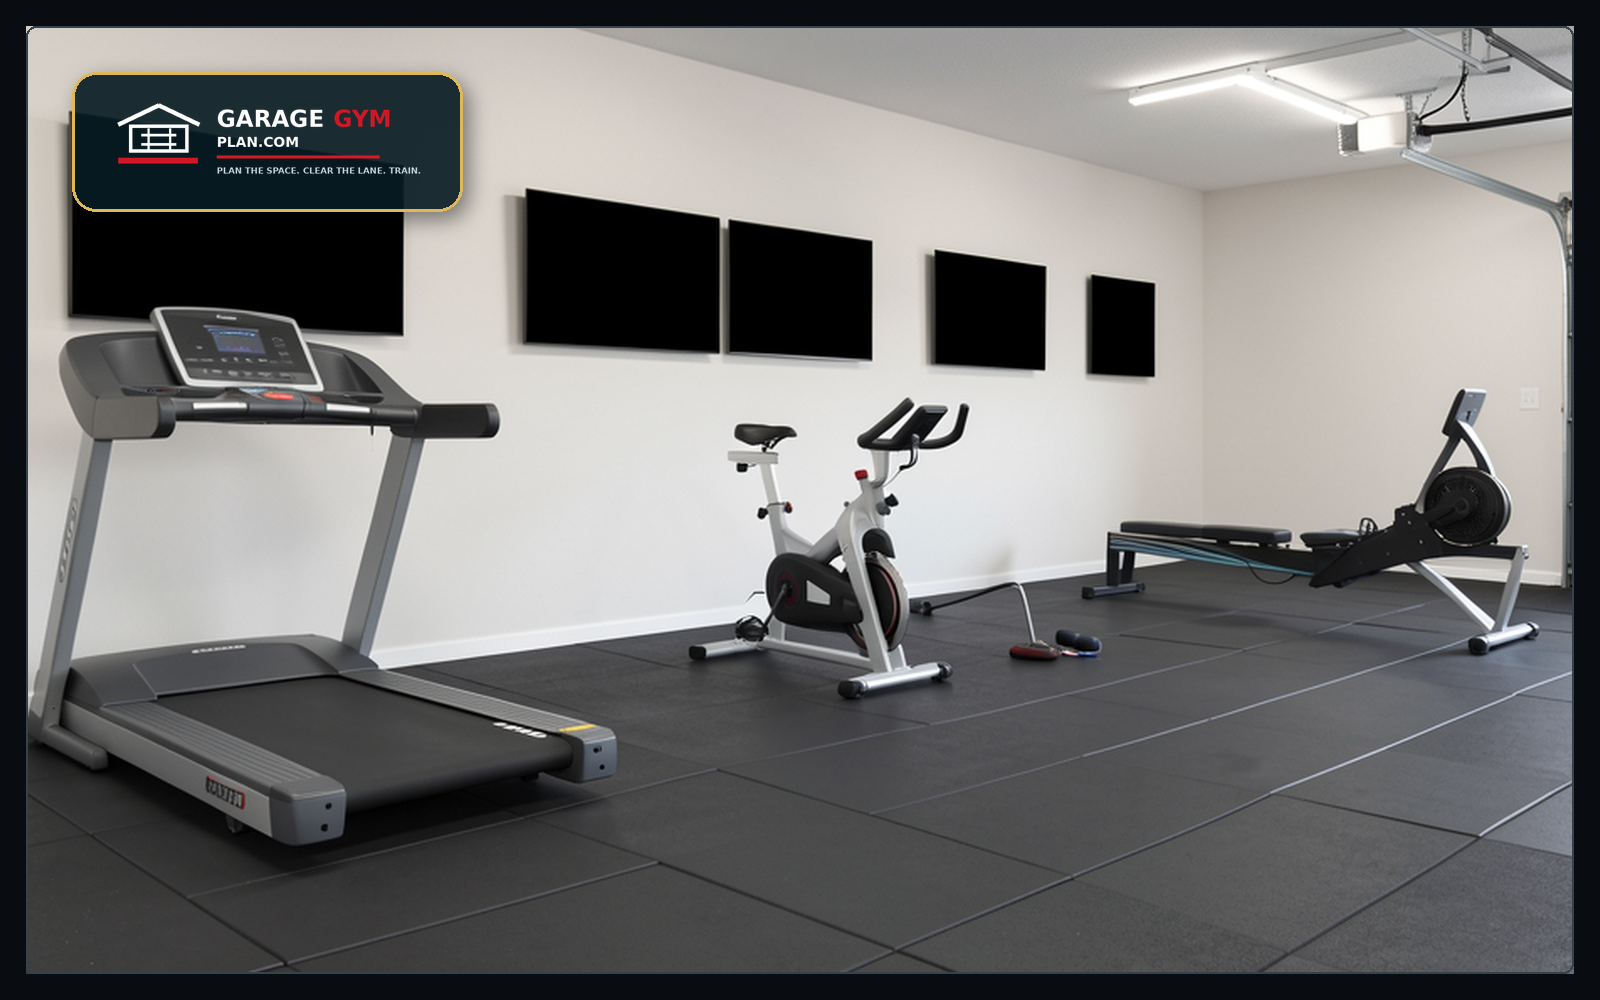
Use this guide if
- You are adding a treadmill, bike, rower, skier, or fan setup
- Your garage gym already has a rack, bench, or storage wall
- You want conditioning gear without crowding the lifting lane
The planning sequence
- Step 1: Place cardio where cords and fans do not cross the main walking lane
- Step 2: Check moving handles, belt length, rower slide, and storage position
- Step 3: Keep sweat towels and cleaning supplies close but off the floor
- Step 4: Avoid putting cardio where it blocks rack access or car doors
- Step 5: Use vertical or folding storage only when setup remains fast enough to use
Common mistakes to avoid
- Planning by footprint and ignoring movement length
- Letting cords and fans become trip hazards
- Putting the machine in the only open warmup area
What to compare before you buy
Place cardio along a wall or fold/roll it away unless it is used every session. Keep the open rectangle for lifting, mobility, and carries.
| Product path | Use it when | Check before ordering |
|---|---|---|
| Folding Treadmill | Best when it solves adding cardio equipment that eats the open floor or blocks the car lane without crowding the training lane. | Verify size, mounting/support, capacity language, and return rules on the current product page. |
| Exercise Bike Mat | Best when it solves adding cardio equipment that eats the open floor or blocks the car lane without crowding the training lane. | Verify size, mounting/support, capacity language, and return rules on the current product page. |
| Rower Vertical Storage Accessory | Best when it solves adding cardio equipment that eats the open floor or blocks the car lane without crowding the training lane. | Verify size, mounting/support, capacity language, and return rules on the current product page. |
- Measure operating footprint and storage footprint; they are often different.
- Check door swing, outlet location, ceiling fan clearance, and sweat-cleanup path.
- Verify product dimensions, folded dimensions, floor protection needs, and return rules.
Garage Gym Plan may earn from qualifying retailer links. Search links are starting points, not final endorsements; verify the current product specs and installation instructions before buying.
Garage Gym Reset Kit
Measure the garage, choose the storage path, and turn the plan into a printable checklist before buying more equipment.
See the Garage Gym Reset KitTrust check for this decision
The safest choice is the one that fits your measured room and the manufacturer’s current installation requirements. Do not rely on a category name alone. Match the product dimensions to your rack zone, wall structure, walking lane, and storage reset routine.
Before checkout, compare the product page against your garage notes: clearance, mounting surface, weight capacity language, included hardware, delivery weight, and return window. If any of those details are unclear, choose the more conservative option or keep planning with the Garage Gym Reset Kit.
Next pages to plan with this
Use these guides to connect the layout decision to measurement, storage, flooring, and buying order.
Garage Gym Cardio Equipment Layout: the practical planning layer
Use this section when the basic answer is not enough and you need to decide how the setup should work in a real garage. The goal is not to add more gear; it is to make the garage gym cardio equipment layout choice fit the way you train, park, clean, and move through the space.
Gaps to solve before you buy or rearrange
- Detailed guidance on optimal placement for specific cardio equipment types (e.g., treadmill, elliptical, rower, bike), considering power access, vibration, and clearance needs.. Detailed guidance on optimal placement for specific cardio equipment types (e.g., treadmill, elliptical, rower, bike), considering power access, vibration, and clearance needs.
- Strategies for integrating cardio zones with strength training areas in a multi-functional garage gym layout to ensure flow and prevent overcrowding.. Strategies for integrating cardio zones with strength training areas in a multi-functional garage gym layout to ensure flow and prevent overcrowding.
- Considerations for climate control, ventilation, and air quality specifically for intense cardio workouts in a garage environment.. Considerations for climate control, ventilation, and air quality specifically for intense cardio workouts in a garage environment.
- Budget-friendly cardio equipment layout solutions, including space-saving alternatives and multi-use equipment arrangements.. Budget-friendly cardio equipment layout solutions, including space-saving alternatives and multi-use equipment arrangements.
- Safety aspects unique to cardio equipment in a garage, such as proper flooring, electrical considerations, and emergency stop access.. Safety aspects unique to cardio equipment in a garage, such as proper flooring, electrical considerations, and emergency stop access.
Choose this approach when
- Start with the non-negotiable clearances, then choose equipment that fits those lanes.
- A layout that works on paper can still fail if the garage door, car path, or storage return path is ignored.
- Use tape on the floor before buying the next large piece of equipment.
- You can explain where the item starts, where it goes during the workout, and where it returns afterward.
- The choice improves the main training lane instead of only making the room look more finished.
- The setup still works on a tired day when you are less careful about putting everything back perfectly.
Terms and fit checks to keep straight
These related ideas tend to appear around this topic. Use them as fit checks, not as a shopping list:
- Cardio Equipment: confirm that this detail applies to your garage, your equipment, and your training style before treating it as a must-have.
- Power Rack: confirm that this detail applies to your garage, your equipment, and your training style before treating it as a must-have.
- Squat Rack: confirm that this detail applies to your garage, your equipment, and your training style before treating it as a must-have.
- Stationary Bike: confirm that this detail applies to your garage, your equipment, and your training style before treating it as a must-have.
- Rowing Machine: confirm that this detail applies to your garage, your equipment, and your training style before treating it as a must-have.
- Treadmill Elliptical: confirm that this detail applies to your garage, your equipment, and your training style before treating it as a must-have.
- Wall Mounted: confirm that this detail applies to your garage, your equipment, and your training style before treating it as a must-have.
- Home Gym: confirm that this detail applies to your garage, your equipment, and your training style before treating it as a must-have.
- Garage Gym: confirm that this detail applies to your garage, your equipment, and your training style before treating it as a must-have.
- Gym Layout: confirm that this detail applies to your garage, your equipment, and your training style before treating it as a must-have.
Before-and-after layout check
- Measure the clear walking lane with the garage door open and closed.
- Mark the equipment footprint with painter tape, including the space needed to load, unload, and turn around.
- Stand where you will start the workout and make sure the first action is obvious.
- Put the heaviest or most awkward item back in its storage spot three times; if that feels clumsy, move the storage lower or closer.
- Check whether the setup still leaves a simple path for cleaning, parking, trash bins, bikes, or family gear.
- Take one photo from the garage entry and one photo from the rack area; if either view looks blocked, simplify before buying more.
When to keep it simple
Do not overbuild this page’s recommendation into a full-room remodel if the bottleneck is small. For many garage gyms, the right next move is one clear return spot, one better measurement, or one safer walking lane. Upgrade only after the current setup proves what is actually slowing down the workout.
For a deeper plan, pair this page with the garage gym measurement checklist, the layout cheat sheet, and the organization planner.
Cardio equipment layout checks
Use these numbers as planning checks, not as live product claims. Final purchases should be verified against the current listing and manufacturer instructions.
- In-use footprint: Measure the machine while it is actually used, including stride path, belt length, handle movement, screen angle, and dismount space.
- Power and airflow: Check outlet location, cord path, fan direction, and whether the machine blocks the garage door, car, or storage wall.
- Buying check: Verify folded dimensions, assembled weight, ceiling/head clearance, floor protection needs, delivery path, and return policy.