
Wall-Mounted Barbell Racks for Garage Gyms
Wall-mounted barbell racks are useful when the wall is strong enough, the bars are easy to reach, and the sleeves or handles do not stick into a walking lane. The wall should solve storage, not create a new collision zone.
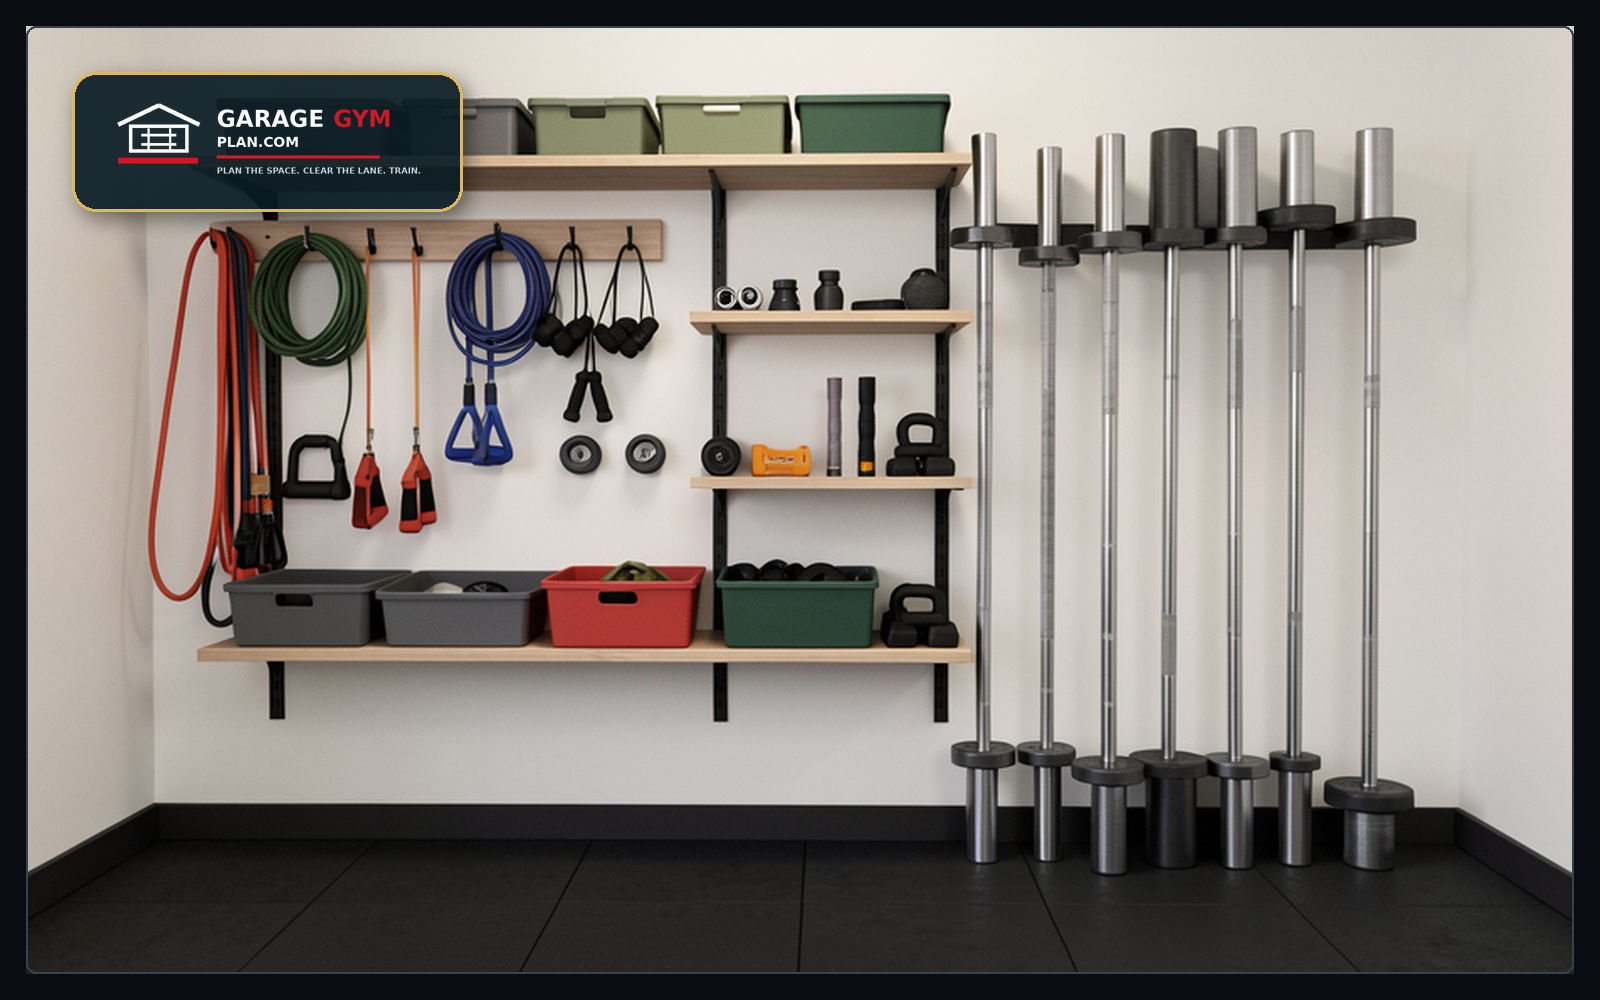
Bottom line
Choose a wall rack when you have verified mounting structure and enough clearance to lift each bar in and out. Horizontal racks are often better for several straight bars; individual hooks can be better for awkward specialty bars. Skip wall storage if the only available wall is also the car path or door path.
Decision table
| Wall rack choice | Best fit | Watch-out | Check | Compare |
|---|---|---|---|---|
| Horizontal multi-bar rack | Several straight bars used often | Bars stack above each other and can get heavy to move | Mounting height, stud layout, and sleeve projection | View options |
| Vertical wall rack | Narrow wall with enough height | Bars can swing or scrape if too close together | Head height, sleeve ends, and pull-out path | View options |
| Individual hooks | One awkward or high-use bar | Easy to mount in a bad place | Exact contact points and wall protection | View options |
| Rack-side wall zone | Bars used with one main rack | Can crowd plates and spotter arms | Loaded bar path and bench setup path | View options |
Checks before you buy or rearrange
Use proper wall structure and hardware for the rack and load.
Do not mount bars over a narrow walkway or where a sleeve points at a car.
Keep frequently used bars between about waist and shoulder height when possible.
Leave specialty bars enough depth for handles and pads.
How to use this in a real garage
A wall rack should make the gym feel calmer. If it forces awkward overhead lifting or turns every bar into a puzzle, use fewer wall slots and give awkward bars dedicated homes.
Walk the route you use during a normal workout: enter the garage, reach the equipment, load the bar or station, train, unload, and reset. The right storage decision should shorten that sequence and leave the shared garage easier to use after training.
Garage Gym Reset Kit
Measure the garage, choose the storage path, and turn the plan into a printable checklist before buying more equipment.
See the Garage Gym Reset KitFit notes by setup
Horizontal multi-bar rack
Several straight bars used often is the main fit signal. The practical mistake is bars stack above each other and can get heavy to move. Before you buy or move anything, use this check: mounting height, stud layout, and sleeve projection. If that check fails, change the location before changing the product.
Vertical wall rack
Narrow wall with enough height is the main fit signal. The practical mistake is bars can swing or scrape if too close together. Before you buy or move anything, use this check: head height, sleeve ends, and pull-out path. If that check fails, change the location before changing the product.
Individual hooks
One awkward or high-use bar is the main fit signal. The practical mistake is easy to mount in a bad place. Before you buy or move anything, use this check: exact contact points and wall protection. If that check fails, change the location before changing the product.
Rack-side wall zone
Bars used with one main rack is the main fit signal. The practical mistake is can crowd plates and spotter arms. Before you buy or move anything, use this check: loaded bar path and bench setup path. If that check fails, change the location before changing the product.
Common mistakes to avoid
- Buying the holder, shelf, jack, or accessory because it looks organized in a photo instead of because it solves your exact lane problem.
- Measuring the product footprint but not the working path around it. Bars, benches, plates, doors, and people need room to move.
- Letting the new storage location create a trip point, toe-stub, car-door conflict, or hard-to-reset corner.
- Keeping too many rarely used items in the premium rack-side zone while the daily-use items sit across the garage.
Good fit vs. bad fit signals
A good setup feels boring after the first week. The item has one obvious home, you can reach it without moving unrelated gear, and the garage still works for parking, tools, bikes, trash cans, and family traffic. A bad setup usually announces itself through repeated small annoyances: a bar that must be tilted past shelves, a hook that catches clothing, a bin that lives on the floor, or a storage product that looks clean only when the garage is empty.
Keep the useful parts and remove the ceremony. If a solution requires multiple reminders, labels, or resets just to stay safe, simplify the zone. Move the item closer to its use point, reduce the number of products in that area, or accept that this garage needs a smaller footprint than the product photo suggests.
Quick test before you call it done
Run one normal workout using the new plan. Set a timer for the setup and reset, then note every item you had to move twice. The page-level goal is not perfect organization; it is a garage that trains cleanly, resets quickly, and does not feel stuffed with keyword-friendly but useless advice.
- Use proper wall structure and hardware for the rack and load.
- Do not mount bars over a narrow walkway or where a sleeve points at a car.
- Keep frequently used bars between about waist and shoulder height when possible.
- Leave specialty bars enough depth for handles and pads.
Keep, cut, or move
Use this as a decision filter: keep the item or setup if it makes the next workout easier to start, easier to reset, and safer for everyone who shares the garage. Cut it if it only adds another surface, slot, or bin without solving a repeated problem. Move it if the product is useful but sits in the wrong zone.
Most garage-gym clutter is not one bad purchase. It is a chain of almost-good decisions: a holder mounted a little too far from the rack, a shelf that is a little too deep, a bar that fits only when the car is gone, or an accessory bin that is convenient until it becomes the place every small part disappears. Fix the chain by choosing one clear home for the item and one clear lane that storage never crosses.
Before-and-after check
Before changing the setup, take one photo from the garage door and one from the house entry. After the change, take the same photos and ask three questions: is the training lane easier to see, are heavy items lower and more stable, and can a non-lifter understand where to walk? If the answer is no, the garage still needs a simpler plan.
Wall-mounted barbell rack checks
Use these numbers as planning checks, not as live product claims. Final purchases should be verified against the current listing and manufacturer instructions.
- Bar length: A full-size Olympic bar is roughly 7 ft long; Rogue lists the Ohio Power Bar exact length at 86.52 in. Check wall width and side-loading clearance before mounting.
- Install check: Confirm stud spacing, fastener type, wall material, rack load rating, and whether the rack holds bars horizontally, vertically, or at an angle.
- Planning price band: Use roughly $25–$100 for many simple wall bar holders and more for multi-bar or premium units. Verify current price, included hardware, and load rating before buying.