
Garage Gym Safety Checklist
A safer garage gym is usually a cleaner garage gym: clear lanes, stable storage, enough clearance, visible lighting, and fewer rushed setup decisions.
Bottom line
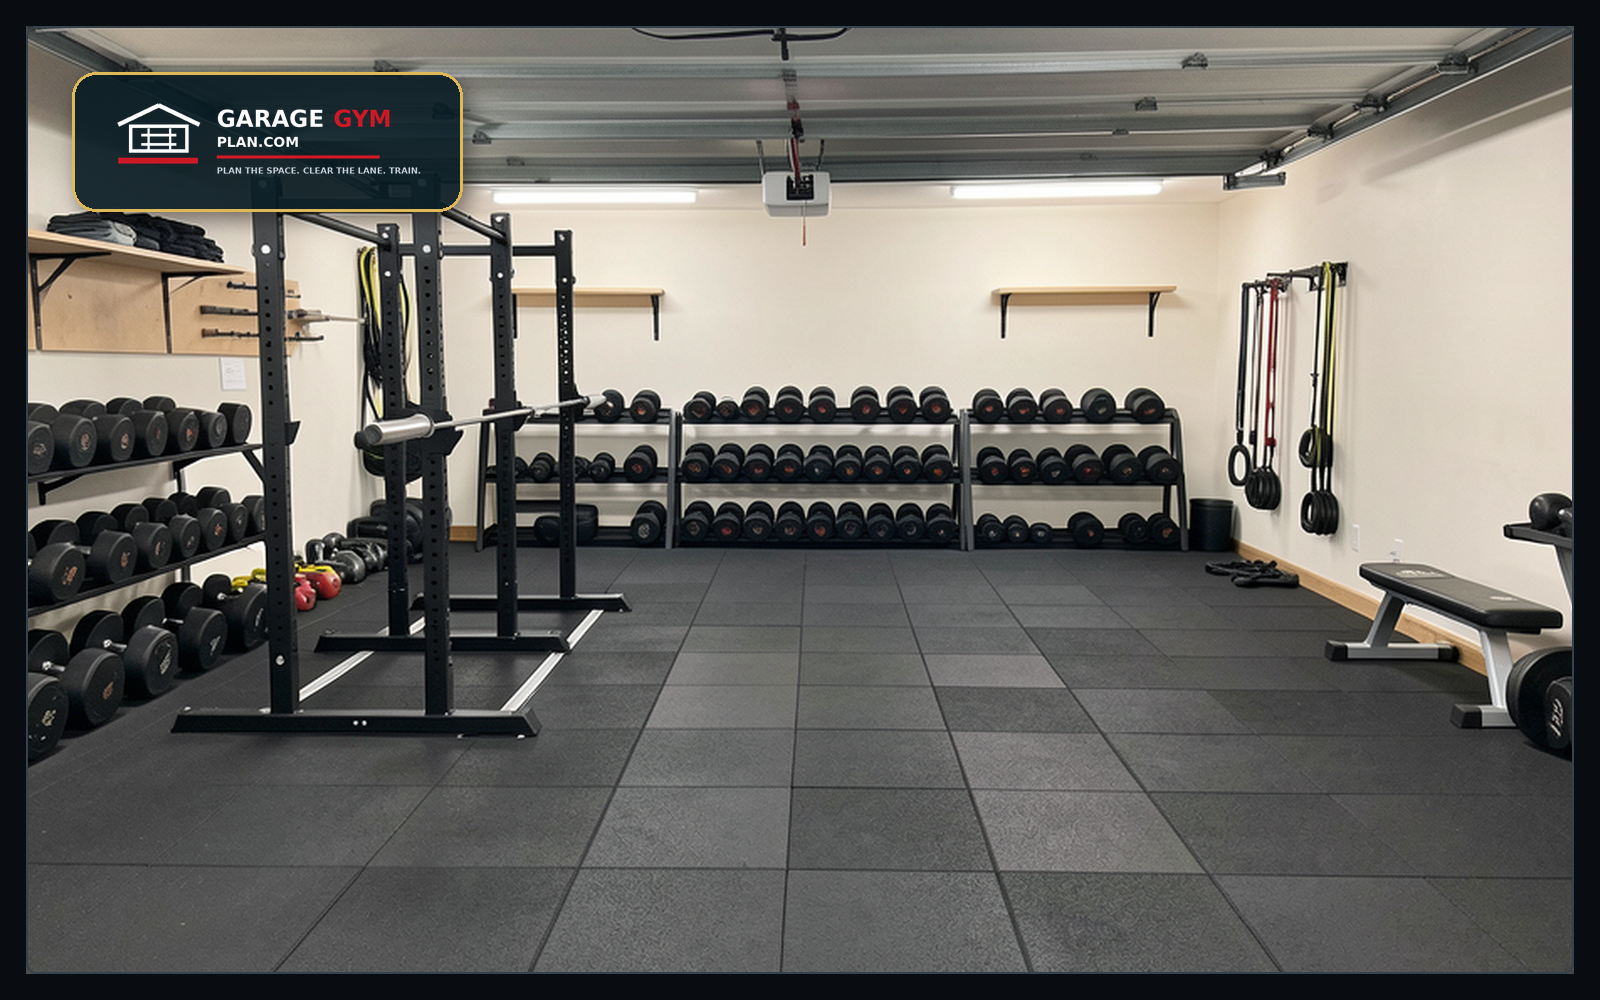
Before adding more equipment, check the rack lane, loaded-bar path, bench pullback, plate storage, floor edges, lighting, wall mounts, cords, and the route from the house door to the garage door. Any item that forces stepping over, twisting, ducking, or unloading awkwardly is a safety issue, not just clutter.
Decision table
| Safety area | What to check | Fix first | Repeat when | Compare |
|---|---|---|---|---|
| Rack and bar path | J-cups, safeties, bench pullback, sleeve clearance | Tape the full loaded-bar and bench path | Any rack, bench, or bar change | View options |
| Walking lane | Door path, car door swing, trash cans, cords, toys | One boring open route through the garage | Weekly and after deliveries | Plan first |
| Flooring | Raised edges, wet spots, seams, rolling mats | Flatten, trim, or secure trip points | After weather changes or mat moves | Plan first |
| Storage | Heavy items, wall mounts, loose plates, dangling bands | Store heavy low; mount only where structure supports it | After each new storage purchase | Plan first |
| Lighting and electrical | Dark corners, extension cords, fans, outlets | Light the rack, floor, and entry path separately | Seasonally and after layout changes | Plan first |
Checks before you buy or rearrange
Keep a small first-aid kit and phone access near the garage entry.
Do not train under loose overhead storage or unstable shelves.
Check manufacturer instructions for rack anchoring, wall mounting, and load limits.
Use ventilation when mats, cleaners, humidity, or heat make the room uncomfortable.
If kids or pets share the garage, make the rack lane a no-play zone during workouts.
How to use this in a real garage
The practical test is a full walkthrough: enter, turn on lights, move the bench, load plates, lift, unload, and reset. If any step depends on stepping over gear, reaching behind plates, or walking through a dark corner, fix that step before the next purchase.
Walk the route you use during a normal workout: enter the garage, reach the equipment, load the bar or station, train, unload, and reset. The right storage decision should shorten that sequence and leave the shared garage easier to use after training.
Garage Gym Reset Kit
Measure the garage, choose the storage path, and turn the plan into a printable checklist before buying more equipment.
See the Garage Gym Reset KitFit notes by setup
Rack and bar path
J-cups, safeties, bench pullback, sleeve clearance is the main fit signal. The practical mistake is tape the full loaded-bar and bench path. Before you buy or move anything, use this check: any rack, bench, or bar change. If that check fails, change the location before changing the product.
Walking lane
Door path, car door swing, trash cans, cords, toys is the main fit signal. The practical mistake is one boring open route through the garage. Before you buy or move anything, use this check: weekly and after deliveries. If that check fails, change the location before changing the product.
Flooring
Raised edges, wet spots, seams, rolling mats is the main fit signal. The practical mistake is flatten, trim, or secure trip points. Before you buy or move anything, use this check: after weather changes or mat moves. If that check fails, change the location before changing the product.
Storage
Heavy items, wall mounts, loose plates, dangling bands is the main fit signal. The practical mistake is store heavy low; mount only where structure supports it. Before you buy or move anything, use this check: after each new storage purchase. If that check fails, change the location before changing the product.
Lighting and electrical
Dark corners, extension cords, fans, outlets is the main fit signal. The practical mistake is light the rack, floor, and entry path separately. Before you buy or move anything, use this check: seasonally and after layout changes. If that check fails, change the location before changing the product.
Common mistakes to avoid
- Buying the holder, shelf, jack, or accessory because it looks organized in a photo instead of because it solves your exact lane problem.
- Measuring the product footprint but not the working path around it. Bars, benches, plates, doors, and people need room to move.
- Letting the new storage location create a trip point, toe-stub, car-door conflict, or hard-to-reset corner.
- Keeping too many rarely used items in the premium rack-side zone while the daily-use items sit across the garage.
Good fit vs. bad fit signals
A good setup feels boring after the first week. The item has one obvious home, you can reach it without moving unrelated gear, and the garage still works for parking, tools, bikes, trash cans, and family traffic. A bad setup usually announces itself through repeated small annoyances: a bar that must be tilted past shelves, a hook that catches clothing, a bin that lives on the floor, or a storage product that looks clean only when the garage is empty.
Keep the useful parts and remove the ceremony. If a solution requires multiple reminders, labels, or resets just to stay safe, simplify the zone. Move the item closer to its use point, reduce the number of products in that area, or accept that this garage needs a smaller footprint than the product photo suggests.
Quick test before you call it done
Run one normal workout using the new plan. Set a timer for the setup and reset, then note every item you had to move twice. The page-level goal is not perfect organization; it is a garage that trains cleanly, resets quickly, and does not feel stuffed with keyword-friendly but useless advice.
- Keep a small first-aid kit and phone access near the garage entry.
- Do not train under loose overhead storage or unstable shelves.
- Check manufacturer instructions for rack anchoring, wall mounting, and load limits.
- Use ventilation when mats, cleaners, humidity, or heat make the room uncomfortable.
- If kids or pets share the garage, make the rack lane a no-play zone during workouts.
Keep, cut, or move
Use this as a decision filter: keep the item or setup if it makes the next workout easier to start, easier to reset, and safer for everyone who shares the garage. Cut it if it only adds another surface, slot, or bin without solving a repeated problem. Move it if the product is useful but sits in the wrong zone.
Most garage-gym clutter is not one bad purchase. It is a chain of almost-good decisions: a holder mounted a little too far from the rack, a shelf that is a little too deep, a bar that fits only when the car is gone, or an accessory bin that is convenient until it becomes the place every small part disappears. Fix the chain by choosing one clear home for the item and one clear lane that storage never crosses.
Before-and-after check
Before changing the setup, take one photo from the garage door and one from the house entry. After the change, take the same photos and ask three questions: is the training lane easier to see, are heavy items lower and more stable, and can a non-lifter understand where to walk? If the answer is no, the garage still needs a simpler plan.
What deserves a written note
Write down anything that someone else in the household needs to know: where collars live, which wall hooks are not for climbing, which outlet should not run a heater and fan together, where the first-aid kit sits, and which lane must stay empty even during storage projects. A written note is not about making the garage formal; it prevents safety from depending on one person remembering every rule.
Also record product-specific instructions. Racks, pulley systems, wall mounts, shelves, benches, and mats can have different limits and maintenance guidance. The safest public advice is to measure the room, keep lanes clear, follow the manufacturer’s instructions, and recheck the setup after the equipment has actually been used.
Safety should reduce decisions
The best checklist removes decisions from the moment when someone is already loaded, tired, or distracted. Collars have one home, plates have one return path, the bench has one parked position, and cords do not cross the lifting lane. That makes the room safer without needing warning language everywhere. It also leaves a repeatable inspection pattern, not just a reminder to be careful. That is the standard for the whole page and the gym itself, for every reader here.
Clearance targets to write down
Use real measurements instead of memory. Record the loaded-bar width, rack depth, bench length in the flat and incline positions, plate storage depth, garage-door track height, opener location, and the width of the walking lane from the house door to the outside door. If a parked car shares the garage, measure the car body, mirrors, and door swing with the people who normally get in and out.
The safest number is not always a universal code number; it is the actual clearance that keeps your household from stepping over plates, ducking under bars, or squeezing past a bench while someone trains. Keep one lane boring and obvious, even if it means delaying a storage shelf or moving a nice-looking rack position.
Family, pets, and guests
A garage gym that is safe for the lifter can still be confusing for a child, guest, or non-lifter. Put heavy plates low and stable, keep bars from rolling or swinging, store bands where they cannot snap back toward faces, and keep chemicals, tools, bolts, cleaners, and electrical cords out of the training path. If the garage doubles as a household entry, the entry path deserves the same protection as the lifting platform.
Use simple visual rules: no toys in the rack lane, no storage in the walking lane, no loose parts on the floor, and no climbing or hanging from bars. Rules work better when the room layout makes them obvious.
Maintenance rhythm
Check the gym after layout changes, heavy weather, mat moves, new wall-mounted storage, and major equipment purchases. Look for loose bolts, shifting mats, rubbing cables, rust, unstable shelves, cracked bands, poor lighting, and cords crossing the floor. A five-minute monthly inspection prevents the site’s most common garage-gym problems from becoming normal background clutter.
Safety walkthrough order
Use the same order every time so the checklist catches real problems instead of becoming another long page nobody uses. Start at the entry door and look for shoes, cords, fans, toys, boxes, and plates in the walkway. Move to the rack and check whether the bar can be loaded on both sides without backing into a car, shelf, bike, or freezer. Pull the bench into position and make sure feet, wheels, and handles do not catch on mat seams. Load and unload the bar once with an empty sleeve so you can see the real plate path.
After that, check storage from low to high. Heavy items should not require overhead reaching or awkward twisting. Wall-mounted items should not wobble, rub, or sit where someone must walk under them. Small accessories should have one visible home. If an item regularly lands on the floor, the storage location is either too far away, too full, or too annoying to use after a workout.
What to test after changing the room
Every major layout change deserves one deliberately slow test session. Do a warmup, a barbell setup, one plate change, one accessory movement, and a full cleanup. Watch for repeated friction: stepping over the same plate, moving the same bench twice, turning sideways near a car, reaching into a dark corner, or leaving the same handle on the floor. Those signals matter more than whether the garage looks organized in a photo.
Do not treat safety as a one-time launch task. The gym changes as you add plates, specialty bars, mats, fans, heaters, shelves, and family storage. Re-run the checklist when the season changes, when humidity changes, when a kid or pet starts using the garage more, or when a new purchase changes the walking lane.
Emergency and failure points
Keep the boring emergency items visible: a clear exit, a charged phone nearby, basic first-aid supplies, collars where the lifter can reach them, and enough open floor to step away from a failed rep or dropped accessory. If a lift, storage mount, or cable setup fails, the surrounding space should not make the problem worse.
Also check the non-training risks that garage gyms accumulate: extension cords, space heaters, fans, dehumidifiers, sharp tools, gasoline, cleaners, uneven thresholds, and wet mats. A page about garage gym safety is incomplete if it only talks about lifting equipment. The garage itself is part of the system.
When to stop adding equipment
Stop adding equipment when the room starts creating work before the workout begins. A second specialty bar, another shelf, or a larger machine can be a good buy in the right garage, but not if it removes the clear route to the rack, blocks the car door, hides the exit, or turns every session into a setup puzzle. Safety is partly about load ratings and hardware, but it is also about friction. The more often a person has to lift, slide, dodge, or step over non-training items, the more likely the gym is to drift into unsafe use.
That is why this checklist should be used before purchases as well as after installation. The safest garage gym is usually the one with fewer ambiguous zones and more boring, repeatable defaults. If the room feels easier to enter, easier to explain, and easier to clean up, the safety work is moving in the right direction. If it looks polished but still forces people to step over plates, dodge a bench, or guess where accessories belong, keep simplifying before adding another product. The goal is a room that can survive ordinary tired use, not only a staged inspection.
Evidence-backed safety checks
Use these numbers as planning checks, not as live product claims. Final purchases should be verified against the current listing and manufacturer instructions.
- Walking surfaces: OSHA's walking-working surface rule emphasizes keeping walking-working surfaces clean, orderly, sanitary, and dry. For a home garage, translate that into flat mat seams, no loose collars in the walking lane, and no cords across the floor.
- Heavy item rule: Store plates, dumbbells, kettlebells, and jacks low and stable. Put light accessories higher; keep heavy items where a child or car door cannot knock them loose.
- Install caution: For wall-mounted storage, verify stud location, wall material, fastener type, load rating, and manufacturer instructions. Do not rely on drywall anchors for heavy bars or plates.
Source and verification notes
Use this as planning guidance, not a substitute for manufacturer instructions or local building/electrical rules. Verify load ratings, mounting hardware, rack instructions, mat specifications, and product dimensions before installation.