
Small Home Gym Ideas That Actually Fit Your Room, Budget, and Training
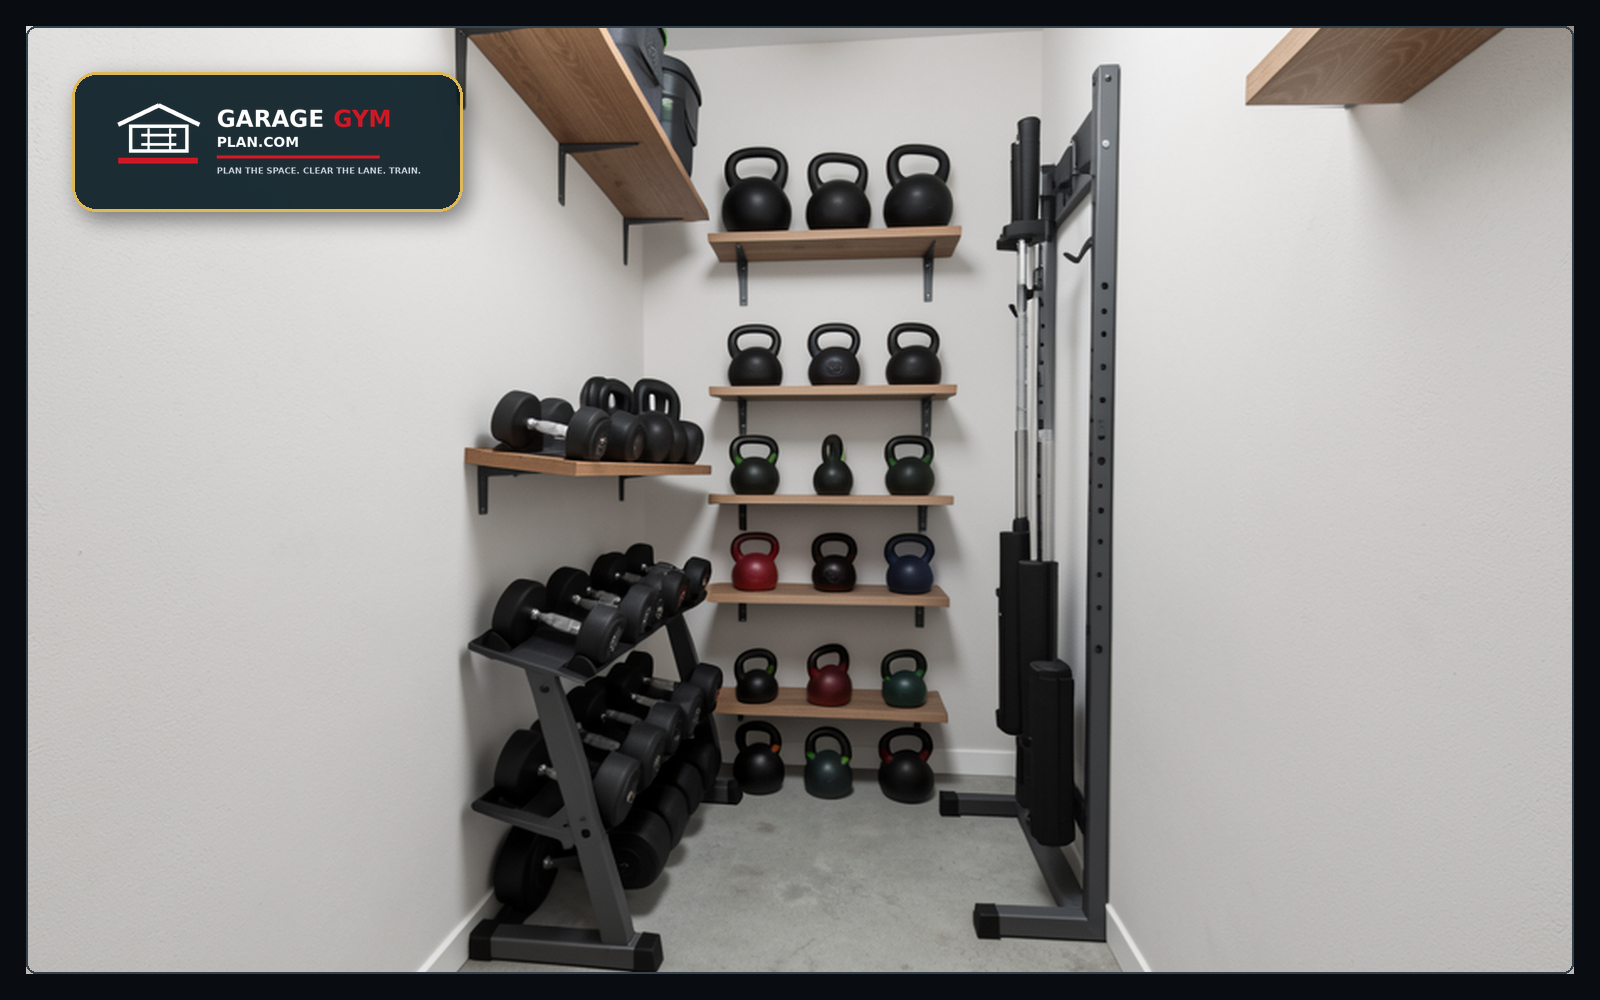
A small home gym works best when it is planned like a system, not a pile of equipment squeezed into a room.
The first win is not buying more gear. The first win is protecting a clear training rectangle, a safe storage wall, and a buying order that lets you train sooner without filling the room with obstacles.
Use these small home gym ideas to choose a layout, score the fit, and decide which equipment should come first.
Start with the smallest useful training rectangle
Instead of asking how much equipment can fit, ask what space is required for the workouts you will actually repeat. A useful small gym usually needs one main rectangle for lifting or conditioning, one storage wall, and one clear walking path.
For many buyers, the anchor is a 6-by-8-foot to 8-by-10-foot training zone. That zone can hold a mat area, adjustable bench, dumbbells, kettlebells, bands, or a compact rack depending on the room. If the rectangle is broken by doors, closets, cars, or furniture, solve that before adding equipment.
Five small home gym layouts to consider
Wall-first dumbbell gym: best for apartments, spare rooms, and low ceilings. Put adjustable dumbbells or kettlebells on one wall, keep the center open, and use foldable or movable bench storage.
Rack-and-mat garage bay: best when strength training matters most. Put the rack where ceiling, door-track, and barbell loading clearance all pass the measurement checklist.
Corner strength zone: best when the room still has another purpose. Use one corner for a bench, dumbbells, bands, and vertical storage while preserving the walking route.
Fold-away training lane: best when the garage or room has to reset after workouts. Use wall hooks, folding mats, and compact storage so the floor can clear quickly.
Cardio-plus-strength strip: best for users who need a treadmill, bike, rower, or functional trainer. Put the large machine at one end and keep a separate mat zone for strength work.
Use the PASS / TIGHT / REDESIGN score before buying
PASS means the layout supports normal workouts, equipment movement, and storage without blocking doors, cars, or walking paths.
TIGHT means the equipment may fit but will create friction: awkward plate loading, bench shuffling, blocked closets, or a mat that has to move every session.
REDESIGN means the layout fights the room. If the equipment blocks a door, garage track, car path, utility panel, or required walking lane, change the plan before buying.
Small home gym equipment sequence
Buy the floor and training zone first: mat, platform area, or protective flooring where the work actually happens.
Add the most versatile strength tool next: adjustable dumbbells, kettlebells, bands, a barbell setup, or a compact cable solution depending on training style.
Add storage before accessories multiply. Hooks, shelves, vertical bar storage, dumbbell stands, and bins protect the training lane.
Delay specialty pieces until the room proves it can handle them. A big machine can be worth it, but only after the primary layout passes.
Mistakes that make a small gym feel smaller
Buying a rack before checking ceiling, door, and barbell side-loading space.
Putting storage on the wall that should have been the training lane.
Covering the floor with loose items instead of creating vertical storage.
Choosing a giant cardio machine before deciding whether strength or conditioning is the main job.
Planning around product photos instead of your room measurements.
Small home gym layout chooser
| Situation | Best layout | Planning risk | Compare |
|---|---|---|---|
| Spare bedroom | Wall-first dumbbell gym | Door swing, closet access, and noise transfer | View options |
| One-car garage bay | Rack-and-mat garage bay | Garage track, car door swing, and storage creep | View options |
| Shared living space | Fold-away training lane | Reset friction after workouts | Plan first |
| Basement with low ceiling | Dumbbell, bench, and cable/band zone | Overhead movements and rack height | View options |
| Cardio-first room | Cardio-plus-strength strip | Machine footprint crowding the strength zone | Plan first |
Home gym ideas for tight rooms
When the room is small, the training plan should choose a primary use before choosing equipment. A strength-first room needs pickup clearance, bench movement, and stable flooring. A mobility or conditioning room needs open floor space more than shelves full of accessories.
The fastest way to make a small gym feel larger is to remove decisions: one mat edge, one storage wall, one bench location, and one rule for what gets put away after every workout.
Small-space equipment that earns the footprint
Adjustable dumbbells, kettlebells, bands, a foldable bench, a compact cable option, and wall hooks can cover a large amount of training without crowding the room. A rack can still make sense, but only if ceiling height, loading room, storage, and walking paths pass first.
If the room is shared with an office, bedroom, or garage parking, choose equipment that resets cleanly. The best small home gym idea is often the one that stays ready without making the rest of the room worse.
Use this in the Garage Gym Planning System
Before buying, use the measurement checklist to score the room. Then use the Garage Gym Planning System to turn the room size into a layout, budget sequence, storage plan, and shopping shortlist.
- Best next step: measure the room, score the fit, and place the setup into a buy-now or buy-later sequence.
- Planning value: fewer wrong purchases, faster setup, and a gym that stays easier to use.
Related planning guides
- Small garage gym ideas
- Garage gym measurement checklist
- Garage gym layout cheat sheet
- Garage Gym Planning System
How to use this small home gym page
Start with the real room: measure the space, mark the training lane, then choose the setup changes that make the next workout easier. For this topic, the useful signals are apartment-safe gear, folding benches, quiet flooring, vertical storage, and multipurpose space. Focus on details that change what to buy, measure, move, install, or avoid.
The practical standard is simple: know what to buy first, what to delay, what to measure twice, and what could create a safety or reset problem. That keeps the plan useful without turning it into a stuffed list of every possible product or keyword variation.
Garage Gym Reset Kit
Measure the garage, choose the storage path, and turn the plan into a printable checklist before buying more equipment.
See the Garage Gym Reset KitDecision checks before buying
| Check | Why it matters | What to do |
|---|---|---|
| Measure the real usable area | Garage walls, door tracks, slopes, cars, shelves, and stored items shrink the room. | Use tape on the floor and leave the walking lane visible. |
| Match the choice to training style | A lifter, a circuit user, and a family gym need different defaults. | Pick the setup that protects the main workout instead of the setup with the most features. |
| Plan the reset | Messy rooms become harder to train in and harder to evaluate later. | Give each item a home that can be reached after a tired session. |
| Check safety and maintenance | Bolts, wall mounts, rubber edges, cords, and clearance problems show up after use. | Recheck the setup after the first few workouts and after seasonal garage changes. |
Good fit / bad fit examples
A good fit is a layout or product choice that makes the most common workout easier without adding daily friction. It keeps heavy items close to where they are used, preserves the walking lane, and makes cleanup obvious. In a small space, that usually means fewer large pieces and more careful placement. In a larger garage, it means avoiding the temptation to scatter equipment across every empty wall.
A bad fit usually looks impressive for a photo but fails during a normal week. It may block the car path, force plate changes into a narrow lane, put frequently used items behind rarely used items, or require a full room reset before every workout. Seeing those tradeoffs helps you avoid impressive-looking setups that make normal workouts harder.
What to test after setup
- Run one normal workout and note every time you step around equipment.
- Load and unload a bar or handle without moving unrelated items.
- Park the bench, plates, handles, mats, or accessories in their intended home.
- Open the garage door, vehicle door, cabinet, or storage bin that sits near the training area.
- Check whether the room can be reset in less than five minutes.
If those checks fail, the fix is usually layout order, not another product. Move the most-used pieces first, reduce duplicate storage, and keep the open training lane easier to see than the gear collection.
Use this as your baseline before buying
Use this section to set a simple baseline before spending money: compare the table, note the biggest mistake to avoid, and choose the next physical move in the garage.
Add more detail only when it changes a real choice, such as a measurement, installation constraint, price range, product fit issue, safety limit, or before-and-after layout note.
Measurement and buying sanity checks
Use these numbers as planning checks, not as live product claims. Final purchases should be verified against the current listing and manufacturer instructions.
- Measure before product: Write down the exact wall width, depth, ceiling height, car-door swing, walking lane, and where the item will reset after a workout.
- Use price bands carefully: Treat price ranges as planning estimates only. Verify current prices, shipping, dimensions, ratings, and return policies on the live listing.
- Keep the lane clear: The best-looking storage is a bad choice if it creates a toe-stub, blocks the car, hides daily gear, or requires moving three items before training.